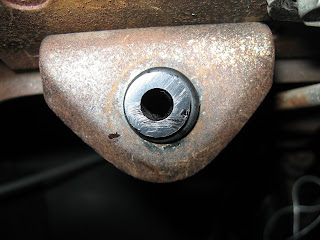
Yeah, I'm still here :)
Lots of stuff going on around here, very little of it Stude-related - except for me driving the car all over North County! I really do love the Studebaker, and things are slowly getting dialed in. I got a new set of spark plugs from Chuck Collins Studebaker today (Champion H14Y, stock #91, if you're in need), since I plan on adjusting the valves tomorrow. Why does this require that I lay in new plugs? Well, the last time I removed plugs, I wound up cracking one off - so I figure, better safe than sorry!
I have gotten a couple of small (emphasis: small) projects done, though. One involved rehabbing the fresh-air intake on Barney. In '63, Larks got a new Climatizer system that placed the heater core and valve horizontally under the dashboard (instead of mounted vertically on the firewall as in years past). This made use of the Lark's cowl-mounted fresh air grille for heating and cooling. The heater core is mounted on the passenger's side of the car, with ductwork carrying fresh or heated air to the other side of the car. But on the driver's side of the car, there was a fresh-air vent under the dash that was just an updated version of the old fender-flap air scoops that the earlier models had; the difference was that the Lark's air flap also let in air from the cowl vent (rather than the fender).
In my car, the driver's vent wouldn't close. There's a latch, meant to hold the duct shut tightly when you don't want air forced in, and no matter how hard I pushed the knob in, I couldn't get that duct to shut and latch. Close examination revealed that the actuating rod was bent and misadjusted.
This photo shows the driver's vent from the perspective of the carpet, a position I've become accustomed to from all the changing of dash switches, rewiring, replacing of ignition switches, etc. The actuating rod in the foreground attaches to the vent door. See the little latch mechanism? See how the vent is not shut all the way? See the kink in the rod? Yup... that was my problem. The rod was so bent that it prevented the vent from being shut properly.
Labels: Cooling+Heatiing, My Lark, Repair


1 Comments:
Interesting...here is my project
www.dutchtreatracing.com
By Anonymous, at 11:17 AM
Post a Comment
<< Home